


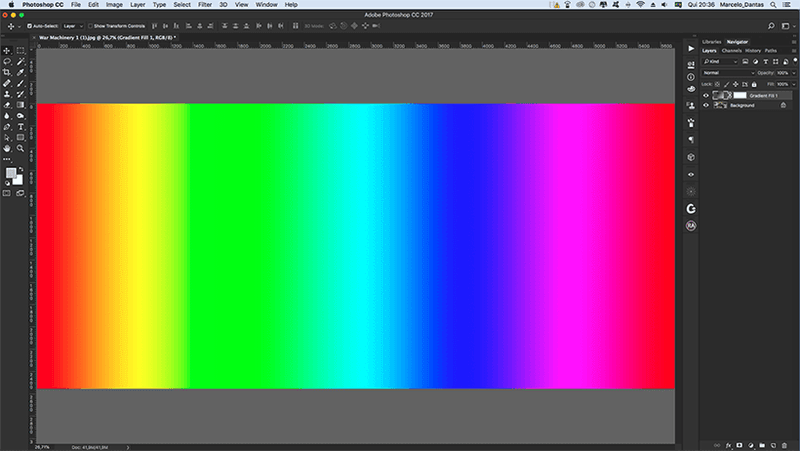
Before starting to explain each of Photoshop's Blend Modes, let's assume that the pixels in the top image will be merged with those in the bottom layer image, okay?
As you can see, the Blend Modes are divided into a few categories:
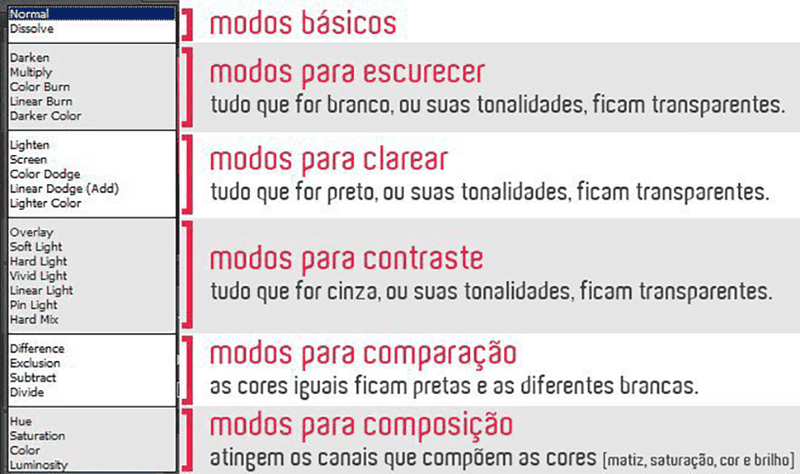
In this way, we will explore each one of them and show their differences.
Basic Blend Modes
01) Normal
In this Blend Mode there is no interaction, it overlaps without causing any effect.
02) Dissolve

This Blend Mode must have its opacity of the selected layer reduced for it to work.
When the layer's transparency is reduced, PS randomly replaces and mixes the colors of the pixels between the layers. The more transparent the top layer is, the less grain there will be in the final image result, making the bottom layer more visible.
Blend Modes for darkening
03) Darken
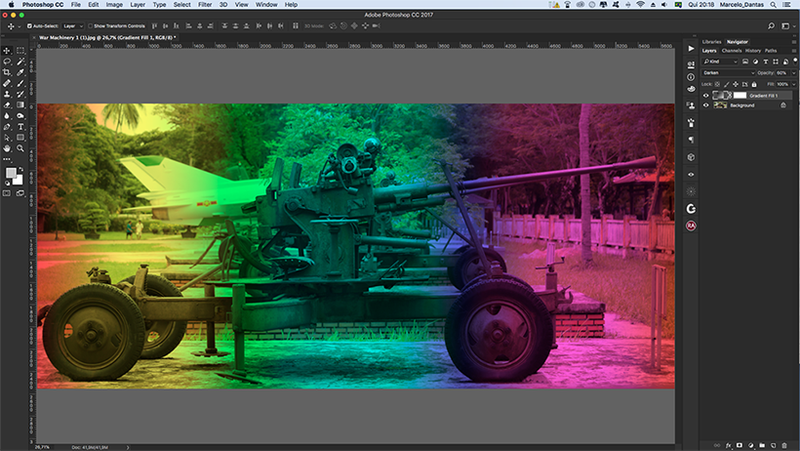
In this, there is a calculation that compares the pixels of the images in each layer and replaces the brightest pixel of the image below with the pixel of the image found in the upper layer.
04) Multiply
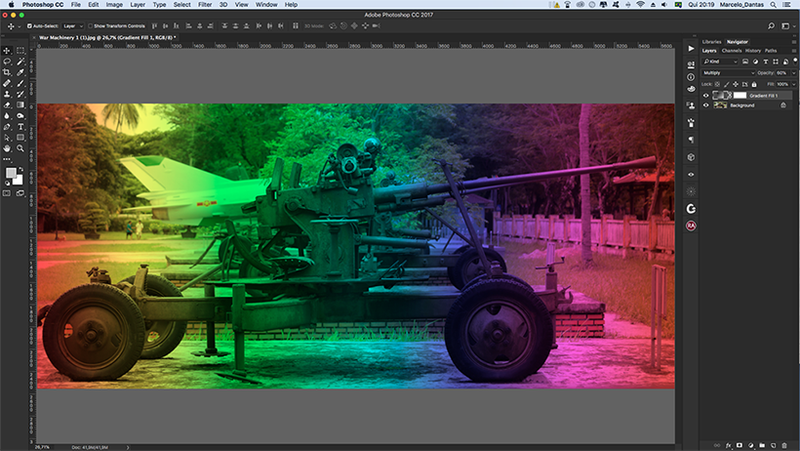
The colors of the pixels on the top layer are multiplied with the colors of the bottom image, so we have a darker art resulting from this multiplication, in this Blend Mode.
We must not forget that when multiplying any color by black the result will be the color black; and when we multiply any color by white the color does not change.
05) Color Burn
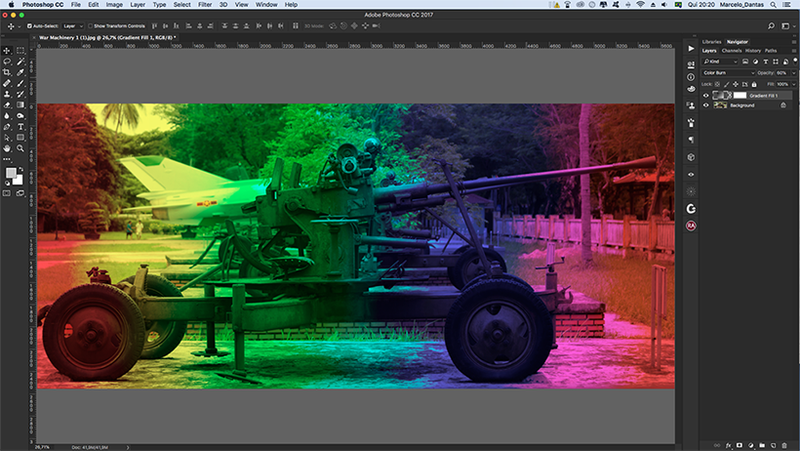
This Blend Mode “burns” the bottom image using the colors of the top image, which results in increased contrast in the colors. If the top color was darker, the bottom color will be blacker.
It's a more drastic effect than multiplying. And just remembering that when merging with white there are no changes.
06) Linear Burn

This one does almost the same as Color Burn, but it has more intensity and manages to reduce the brightness of the image.
07) Darker Color
In this Blend Mode, there is only the replacement of the lighter colors of the bottom layer with the colors of the top layer and brings an image with a more abrupt transition.
Blend Modes for lightening
08) Lighten
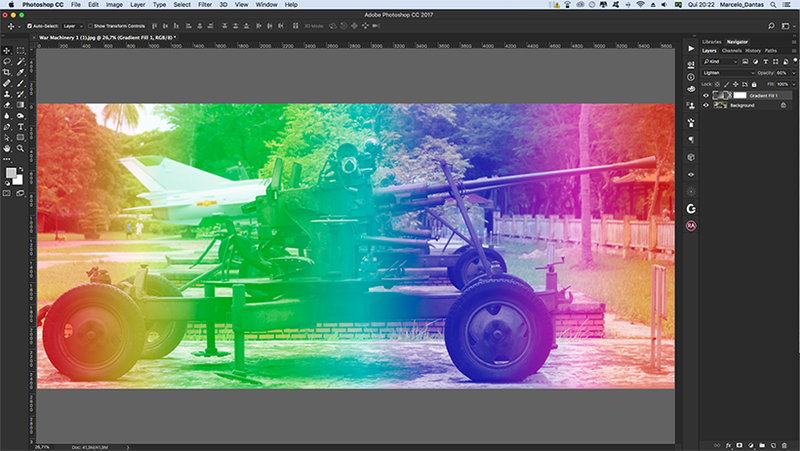
This Blend Mode does the opposite job of the Darken effect, using bright pixels to blend and replace the darker ones in the bottom layer image.
The bright places on the bottom layer will remain there and the darker ones will be replaced by the pixels on the top layer. The result is a clearer final image.
09) Screen

This Blend Mode examines the color information on each layer and multiplies the inverse of the colors, always resulting in lighter colors.
Some details to remember: dividing by black doesn't change the color and dividing by white produces the color white.
It's the opposite of Multiply and has almost the same effect as Lighten, but it softens the image more.
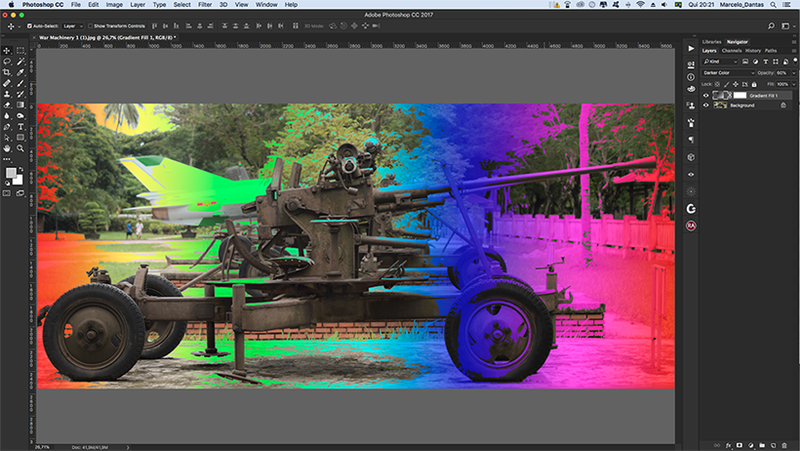
10) Color Dodge
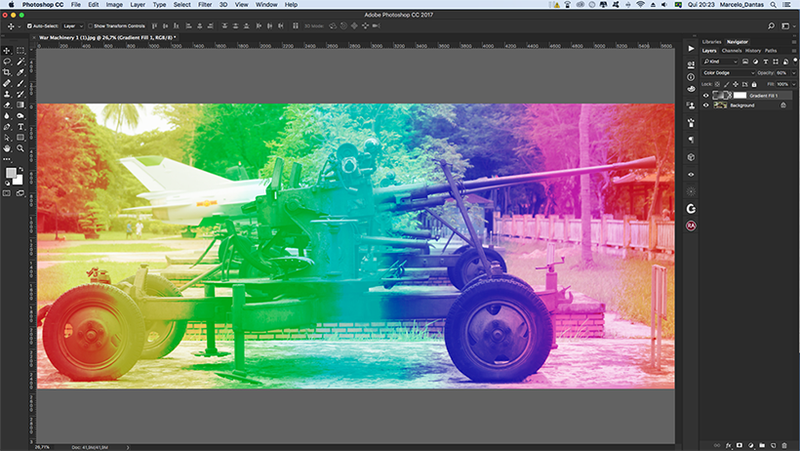
Unlike Color Burn, this Blend Mode examines the color information in each channel and lightens the image, thus reflecting the color of the top layer, which helps to decrease contrast.
It's as if Photoshop takes white from the top image and lightens the dark pixels in the bottom image with it.
Merging with black produces no changes and the clearer the image from above, the greater the effect.
11) Linear Dodge (Add)
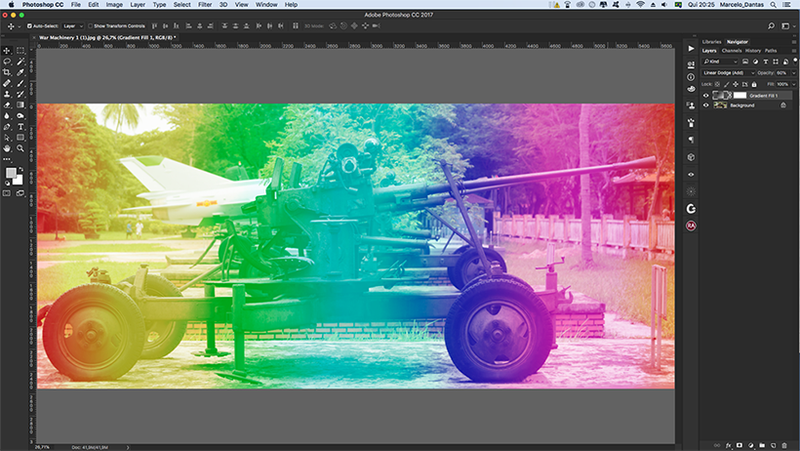
Logically, this Blend Mode is the opposite of Linear Burn. In this sense, it examines the color information in each channel and clarifies the final image, and thus increases brightness.
It's like taking the pixels from the top image and multiplying them by the light pixels from the bottom layer.
Quite similar to the Blend Mode Screen, but stronger.
12) Lighter Color
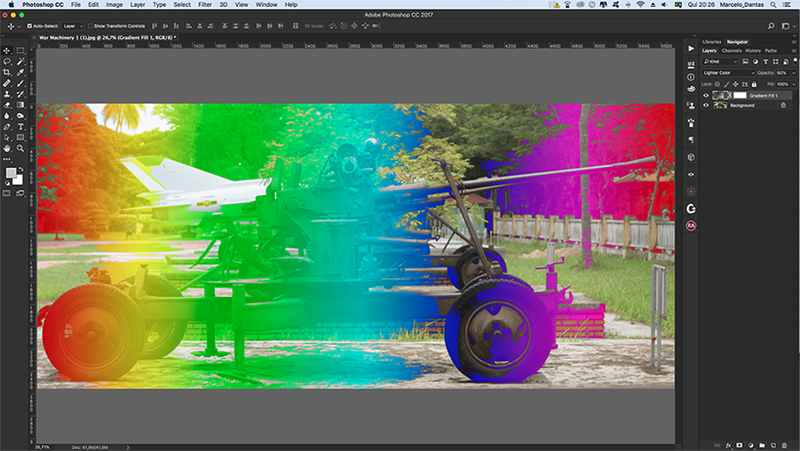
This Blend Mode is the opposite of Darker Color.
In this sense, the effect created works based on replacing the darker colors of the lower layer with the colors of the upper layer. Once again we have an image with a more abrupt and hard transition.
Only the lighter colors of the bottom layer are still visible.
Blend Modes for contrast
13) Overlay

This mode combines multiply and screen.
It maintains the light and shadow of the lower layer, where light remains light and where dark it remains dark, while merging the two layers.
The result of this blend mode depends a lot on the background image.
One detail: where there is 50% gray in the lower image, the colors of the upper image do not reach, that is, the gray in the lower layer is not affected by the colors of the upper layer.
The usefulness of this effect can be greatly explored to give a greater contrast to the image.
14) Soft Light
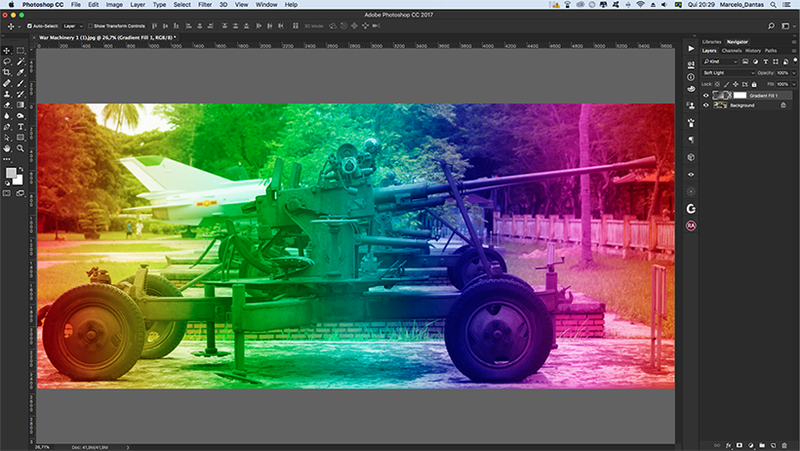
The Blend Mode in question will darken or lighten the colors, depending only on the color of the bottom layer.
This is an effect similar to the overlay, but if the top image is 50% luminous, these areas will be lightened; otherwise, they will be darkened.
Finally, if you have an image with 50% gray, there will be no effect. This Blend Mode is often used to add contrast to images.
15) Hard Light
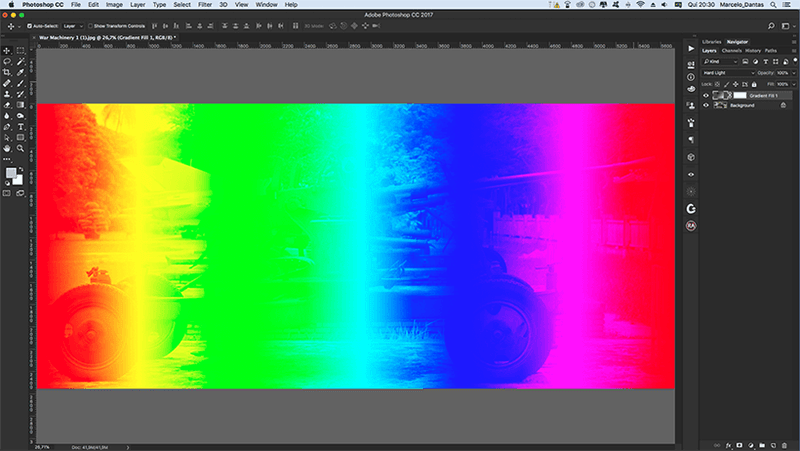
It's about the same as the soft light effect. The difference is that it multiplies or divides colors and brings greater drama to the layout.
If the color of the bottom image is lighter than 50% gray, the image will be lighter; if the bottom color is darker than 50% gray, these parts will be darkened.
16) Vivid Light
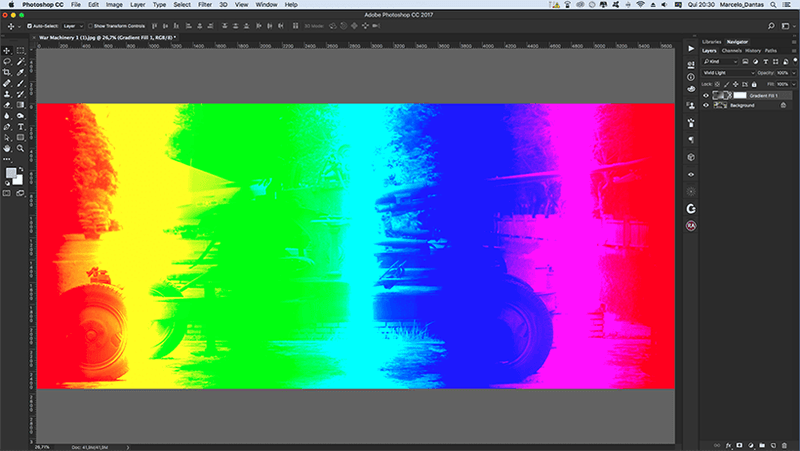
This Blend Mode overexposes or underexposes colors, increasing or decreasing contrast, depending on the blend color.
If the blend color (light source) is lighter than 50% gray, the image will be lightened by decreasing contrast. If the blend color is darker than 50% gray, the image will be darkened by increased contrast.
17) Linear Light

This Blend Mode has the same characteristics as vivid light, the difference is that there are no changes in contrast, but rather in the brightness of the image.
18) Pin Light

This mode replaces colors depending on the blend color.
If the blend color (light source) is lighter than 50% gray, pixels darker than the blend color are replaced and lighter pixels are not changed.
Here it works like this: the lighter colors of the top layer use the Lighten mode and the dark colors use the Darken mode to create the blend between the layers.
19) Hard Mix

The Blend Mode presented here causes the colors to be plated in post-processing mode. The lighting in the color from above defines everything.
It's a very psychedelic effect and can bring really cool results when worked in an intelligent way.
Blend Modes for comparison
20) Difference

The Difference mode examines the color information in each channel and subtracts the blend color from the base color or the basic color from the blend color, depending on which one has a higher brightness.
Blending with white inverts the values of the basic color, while blending with black produces no changes.
21) Exclusion
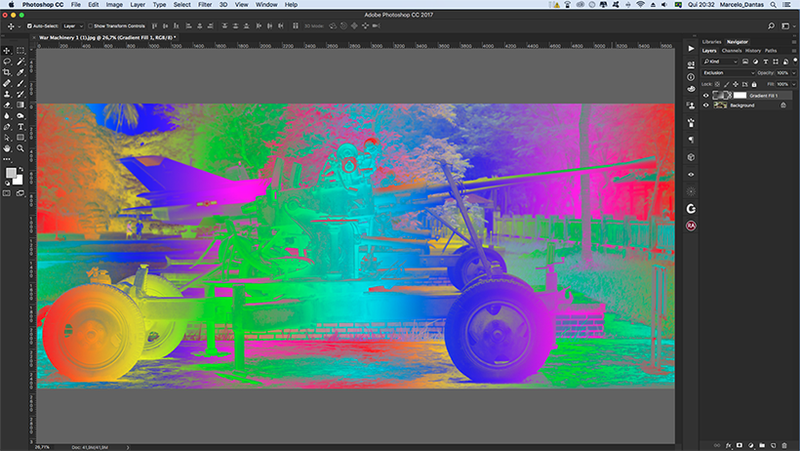
It creates a similar effect, but with lower contrast than that of the Difference mode.
Blending with white inverts the values of the basic color. Merging with black produces no changes.
22) Subtract
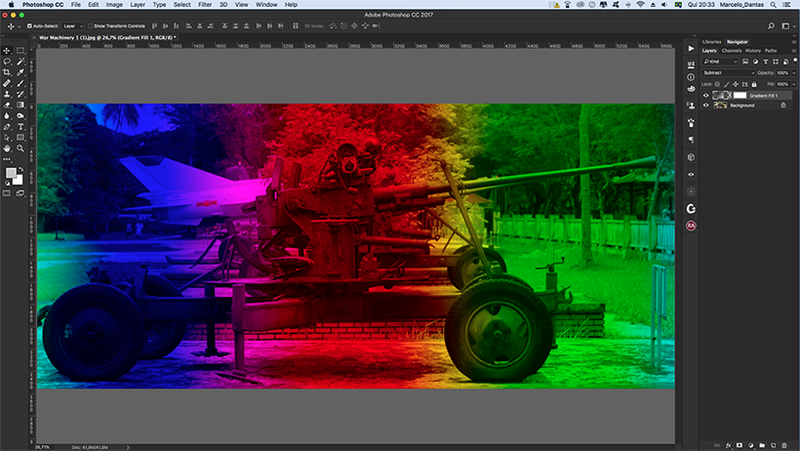
The software examines all color information in each channel and subtracts the color of the bottom layer from the top layer.
Example: if the pixel on the top layer has RGB with R:100, G:40, B:30 and the pixel on the bottom layer has its RGB with R:80, G:20, B:10, the result for the layout is that the pixel of the final image has its RGB at R:20 (100—80), G:20 (40—20), B:20 (30—10).
The color becomes darker.
23) Divide

This Blend Mode has the same premise as the subtract, but instead of subtracting it divides, which makes the colors clearer and overexposed.
Blend Modes for composition
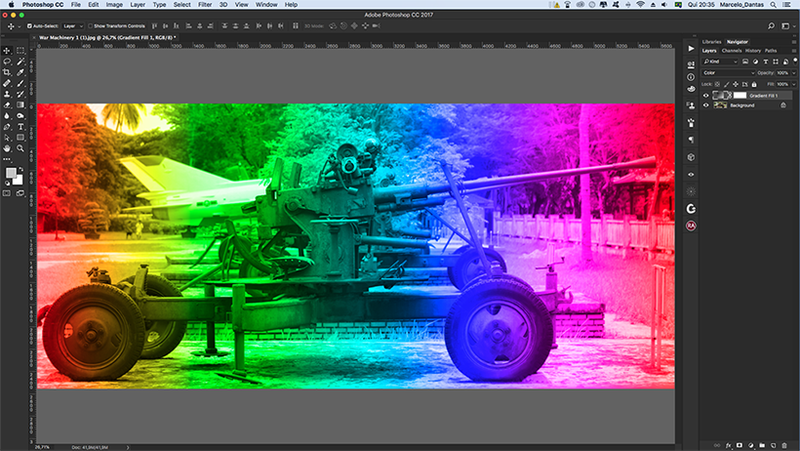
24) HUE
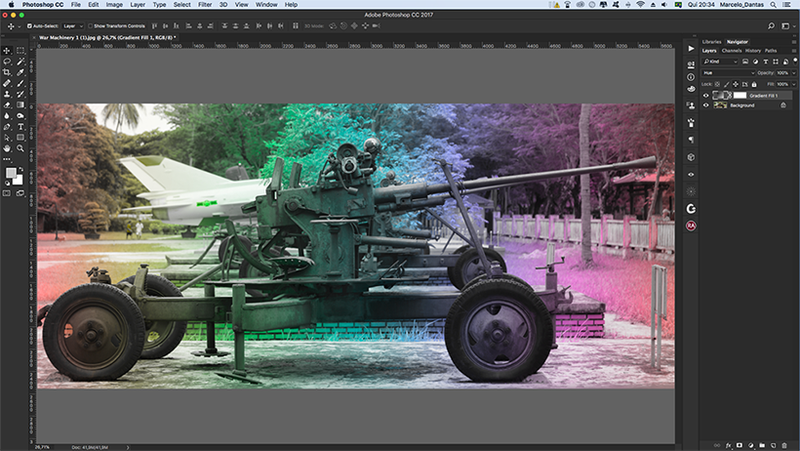
This effect is the combination of the color of the top layer with the luminosity and the saturation of the bottom layer.
Notice that where it's red on the top layer will leave the final layout looking reddish, but all aligned according to the light and saturation of the bottom layer's image.
25) Saturation
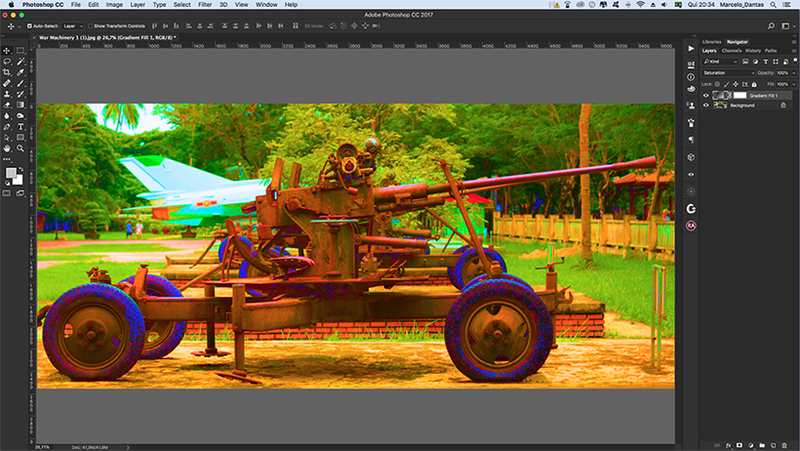
Creates a resulting color with the luminosity and hue of the basic color and with the saturation of the blend color.
Know that painting with this mode on an area with zero saturation (gray) does not produce any changes.
26) Color
This is a fairly simple Blend Mode. It just matches and mixes the luminosity of the bottom layer and the color and saturation of the image above. It's like a mix of colors.
It is useful for coloring monochrome images and painting color images.
27) Luminosity

This is the opposite of color mode. Here Photoshop combines the color and saturation of the bottom layer with the luminosity of the top image.
Understanding how Blend Modes work is essential for image manipulators, designers, and art directors.
It is through its correct use combined with other techniques, such as the use of masks and layer adjustments, that you will be able to achieve the objective of your project.
So try to understand how each of the Blend Modes works and practice enough to raise your level with Photoshop!


